-
-
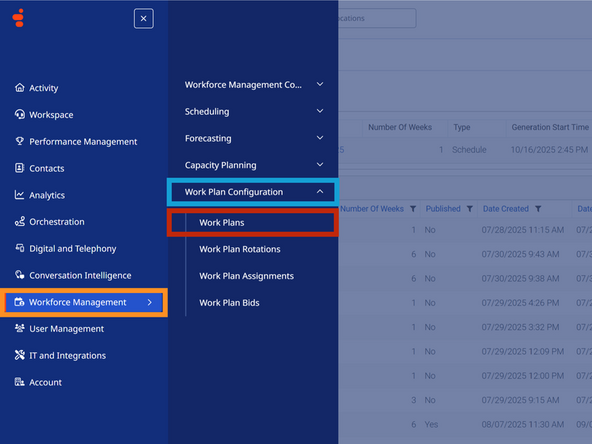
Select Workforce Management
-
Go to Work Plan Configuration
-
Select Work Plans
-
-
-
Make a note of the existing work plan names to replicate the format.
-
Example: Business Unit - Start - End Time Lunch
-
Select the Business Unit
-
Click Add
-
-
-
Select the Days of the Week for the shift
-
Click to add a name
-
Enter a Name
-
Click ✓
-
-
-
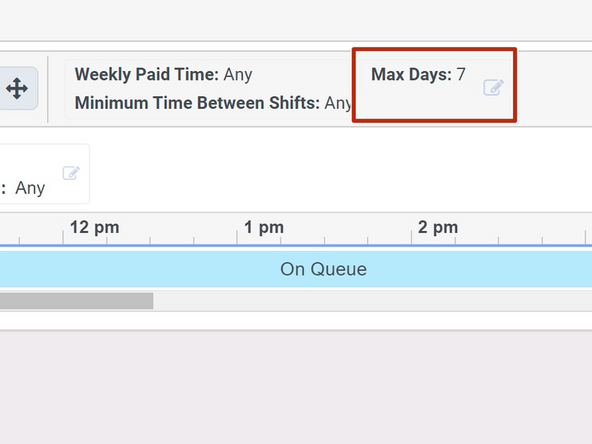
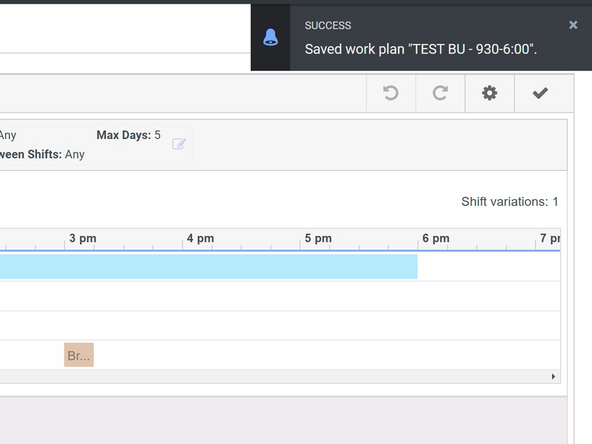
The Max Days must be set to 5.
-
To edit the Max Days:
-
Click Max Days
-
-
-
Adjust the Maximum Scheduled Days Per Week to 5
-
Click OK
-
-
-
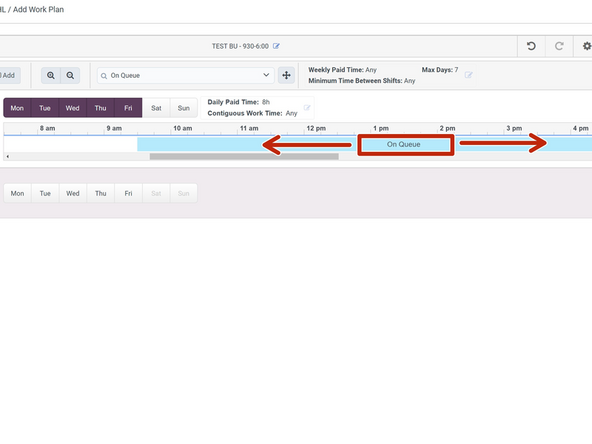
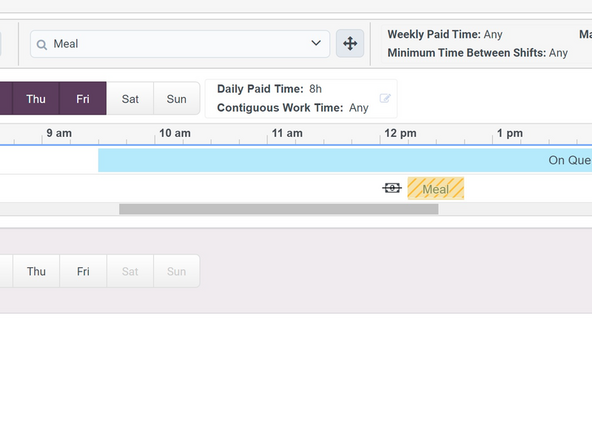
To move the Start and End time of the shift:
-
Click and drag the On Queue activity
-
-
-
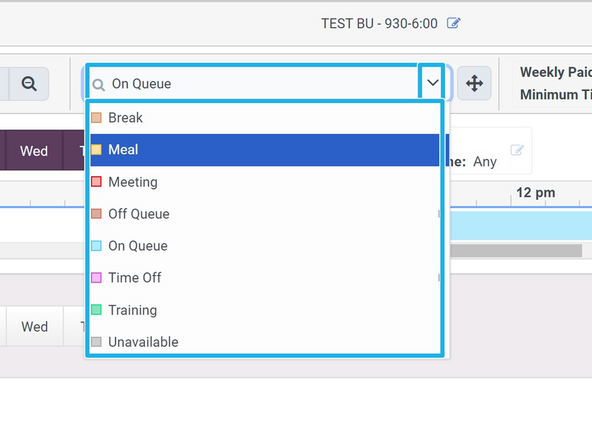
To add Lunch and Break activities:
-
Select the Meal or Break activity
-
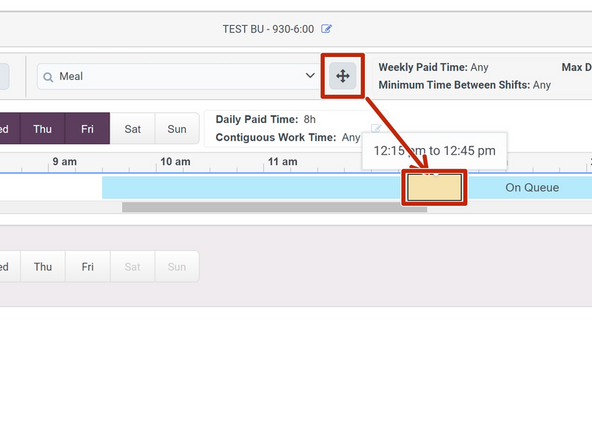
Click and drag the Activity into the schedule
-
Repeat this step to add other breaks. A typical shift contains one unpaid Lunch and two paid breaks.
-
-
-
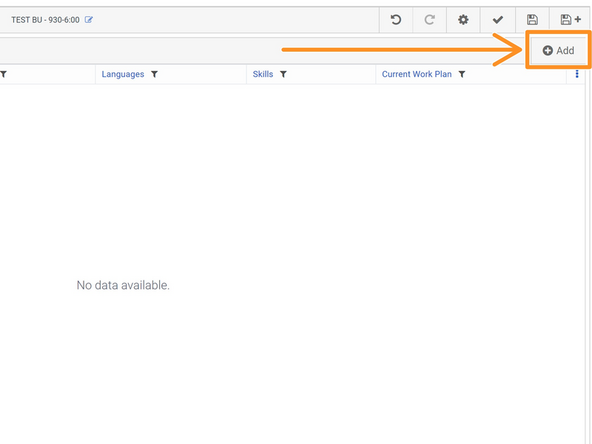
To add agents to the Work Plan:
-
Click Agents
-
Click Add
-
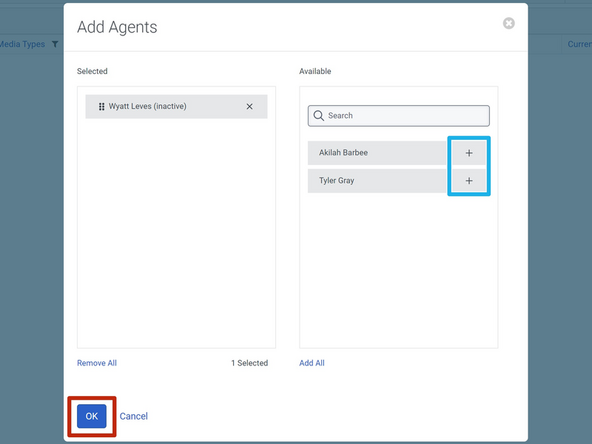
Select the Agents to Add
-
Click OK
-
-
-
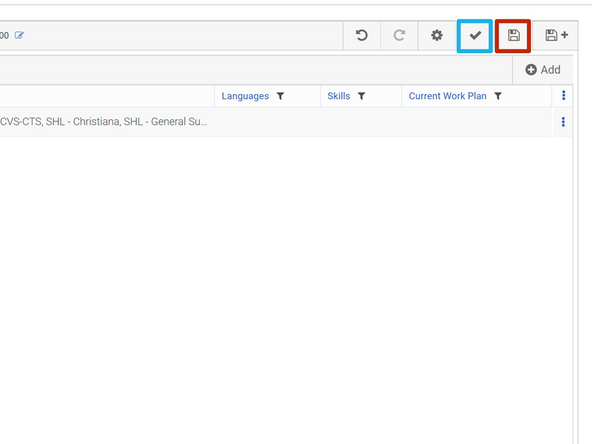
To save the Work Plan:
-
Click Verify
-
Click Save
-
A success notification will appear.
-
-