-
-
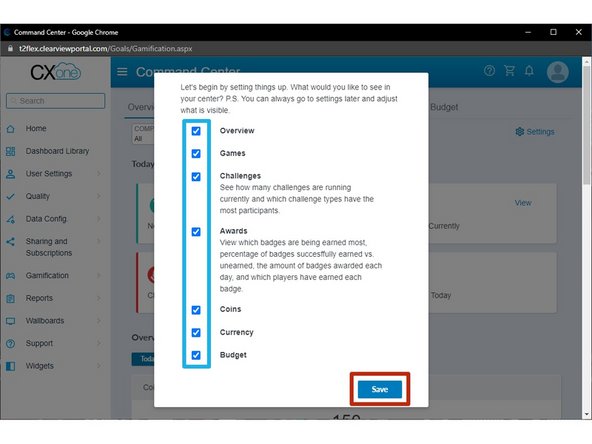
The first time you open your Agent Dashboard you will need to confirm which items to make viewable.
-
Select All Items
-
Click Save
-
-
-
Click your Profile Image
-
Click Profile & Avatar
-
-
-
Click Start
-
-
-
Select your Gender
-
-
-
Select your Body Shape
-
Click Next
-
-
-
Select a Skin Tone
-
Click Next
-
-
-
Select a Head Shape
-
Click Next
-
-
-
Select a Hair Style
-
Select a Hair Color
-
Click Next
-
-
-
Select your Eyes
-
Select your Eye Color
-
Click Next
-
-
-
Select an Eyebrow Shape
-
Click Next
-
-
-
Select a Nose
-
Click Next
-
-
-
Select a Mouth
-
Click Next
-
-
-
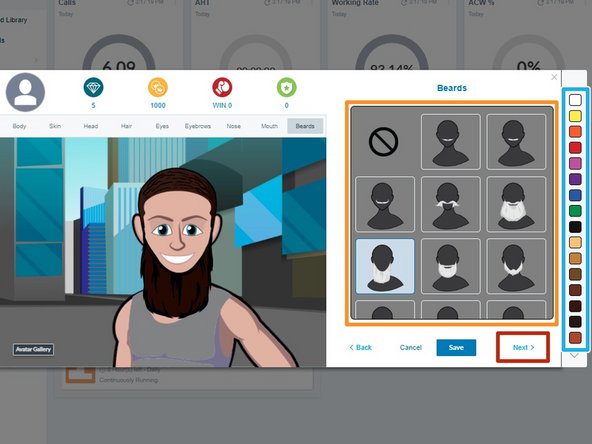
If you would like to add facial hair:
-
Select a Beard
-
Select the Beard Color
-
Click Next
-
-
-
To review your selections:
-
Select one of the Attribute Tabs
-
When you are ready to save your avatar:
-
Click Save
-
-
-
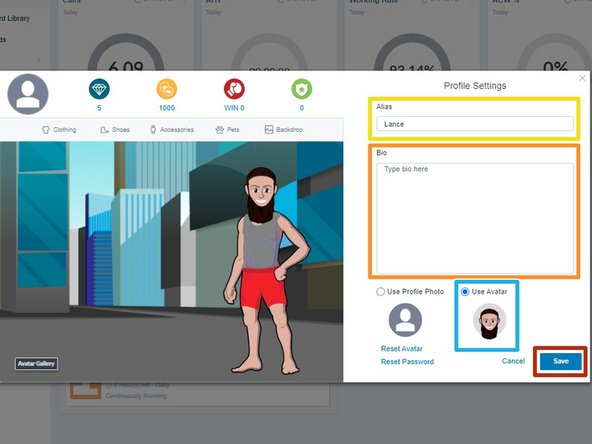
Give your avatar an Alias
-
If you would like to give your avatar a Biography:
-
Enter a Bio
-
Select Use Avatar
-
Click Save
-
-
-
Premium items can be purchased using Gems and Coins
-
Premium items can be identified by the additional currency icons below the item.
-
To purchase a premium item:
-
Click on the Premium Item
-
Review the transaction and click Purchase
-
Confirm the purchase:
-
Click Yes
-
-
-
Select the Purchased Item
-
If required:
-
Select a Color
-
Click Save
-