-
-
Enter your Cerner Username and Password
-
Click OK
-
-
-
The App Bar will appear at the top of your screen.
-
Click the App Bar icon
-
Ensure Always On Top is checked
-
Click Float
-
-
-
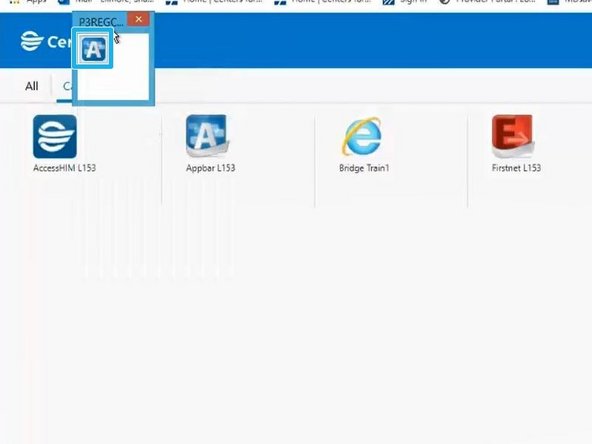
The App Bar will appear in its own smaller window.
-
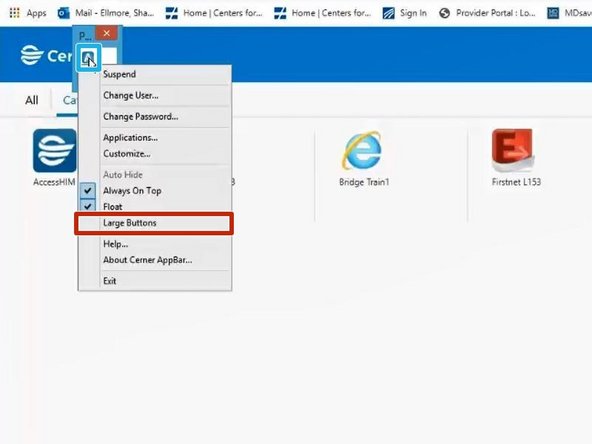
Click the App Bar icon
-
Click Large Buttons
-
The App Bar can be moved anywhere you like on your screen.
-
-
-
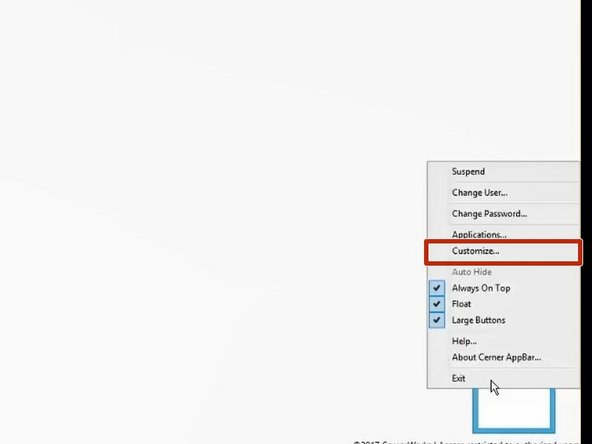
Click the App Bar icon
-
Click Customize
-
-
-
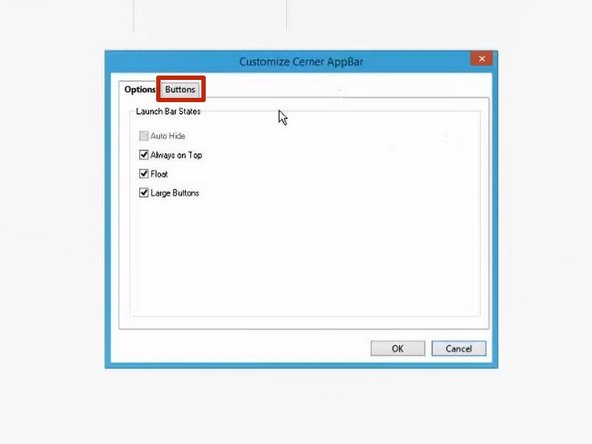
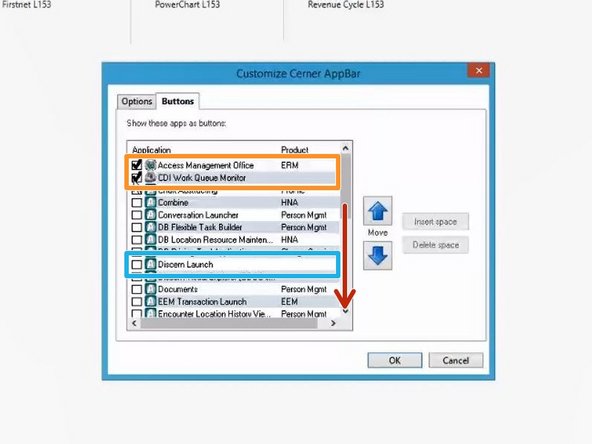
Click the Buttons tab
-
-
-
Check the application Access Management Office and CDI Work Queue Monitor
-
Check the application Discern Launch
-
Scroll down
-
-
-
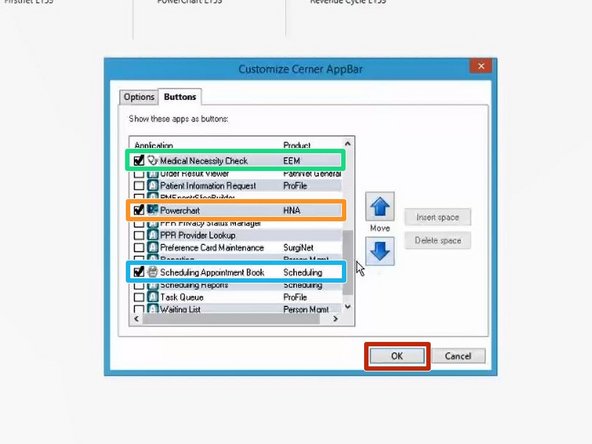
Check Medical Necessity Check
-
Check Powerchart
-
Check Scheduling Appointment Book
-
Click OK
-
-
-
To move the App Bar:
-
Click and drag the top boarder of the window
-
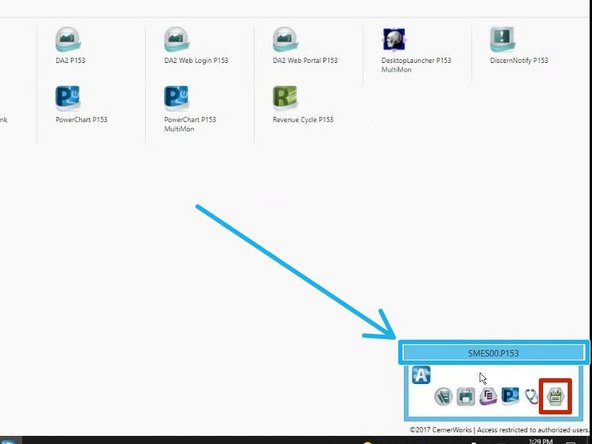
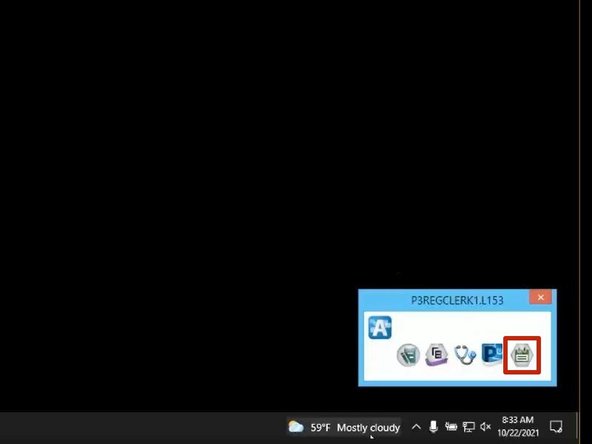
To open the Scheduling Appointment Book application:
-
Click Scheduling Appointment Book
-
-
-
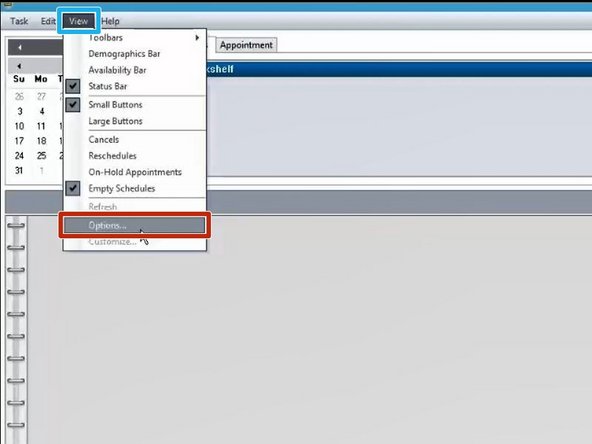
Click View
-
Click Options
-
-
-
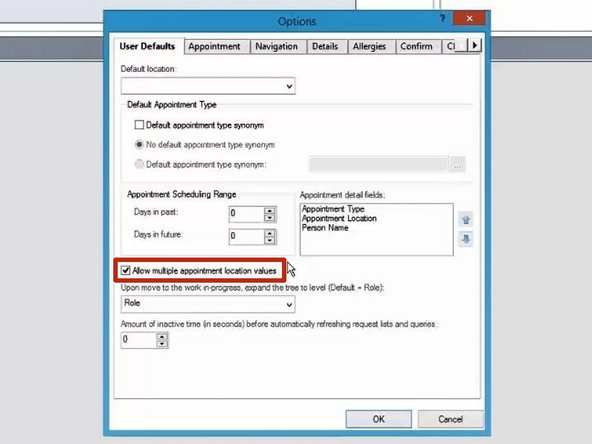
Check Allow multiple appointment location values
-
-
-
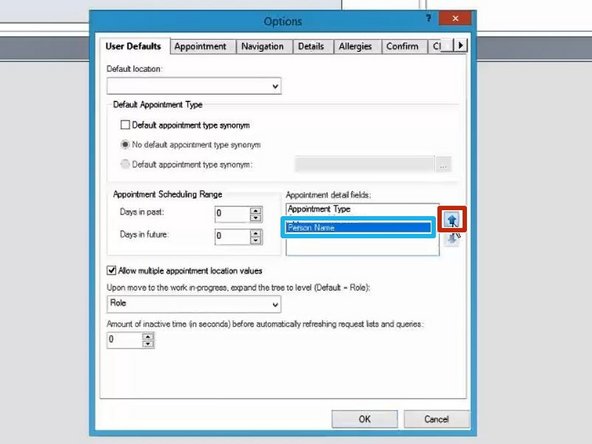
To move the Person's Name to the top of the appointment fields:
-
Click Person Name
-
Click the Up arrow twice
-
-
-
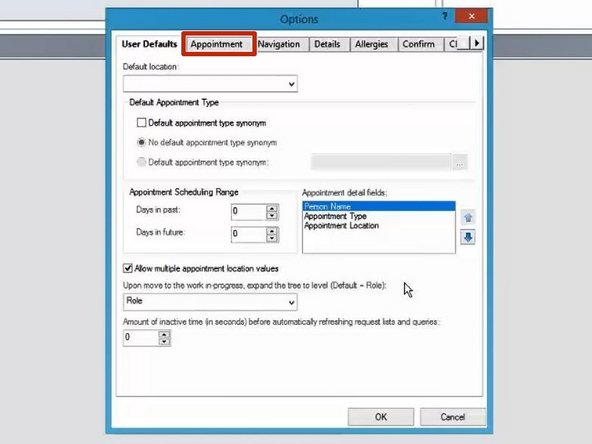
Click the Appointment tab
-
-
-
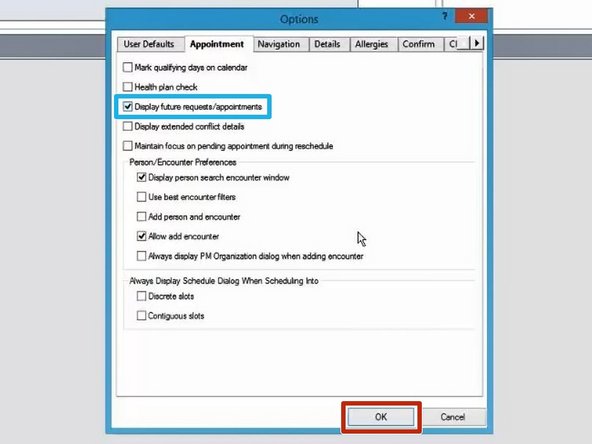
Click Display future requests/appointments
-
Click OK
-
-
-
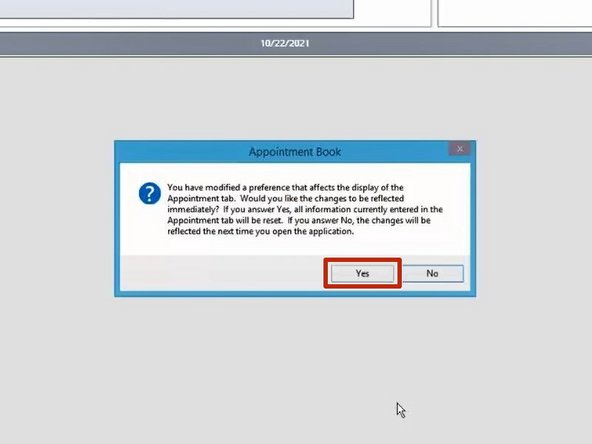
To apply the changes immediately:
-
Click Yes
-
-
-
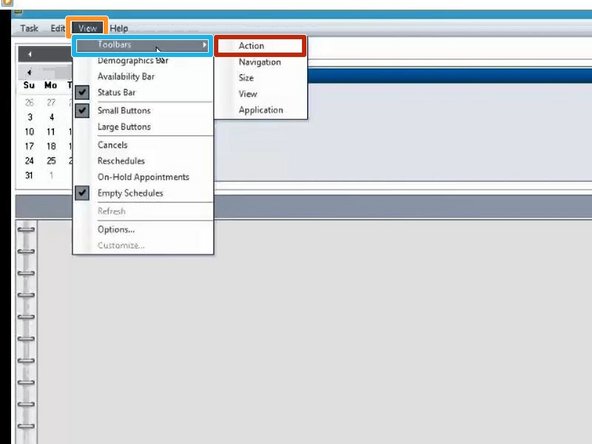
Click View
-
Click Toolbars
-
Click Action
-
Repeat this step to enable Navigation, Size, View, and Application.
-
-
-
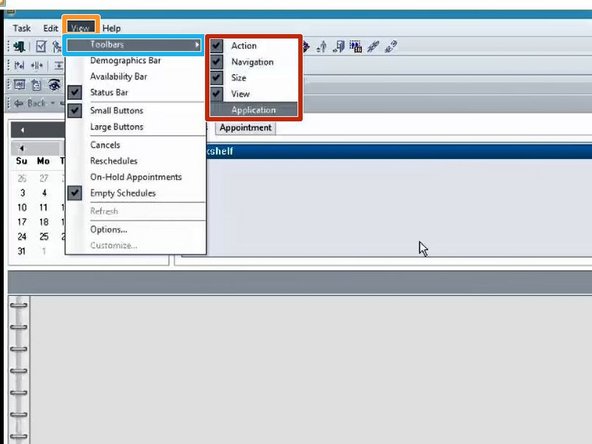
Ensure all Toolbars are enabled:
-
Click View
-
Click Toolbars
-
Action, Navigation, Size, View, and Application should be checked
-
-
-
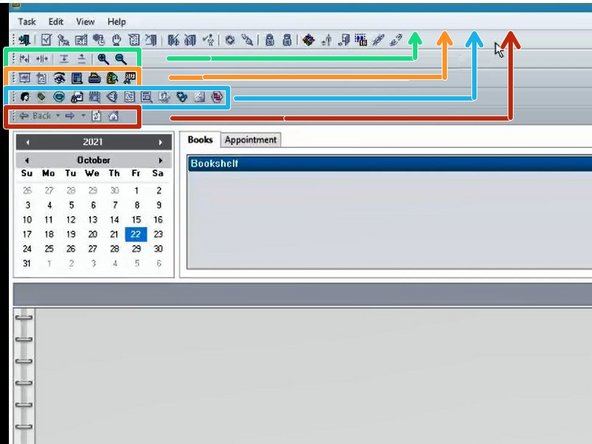
To make better use of the space on your screen:
-
Click and drag the second row into the top row
-
Click and drag the third row into the top row
-
Click and drag the fourth row into the top row
-
Click and drag the fifth row into the top row
-
-
-
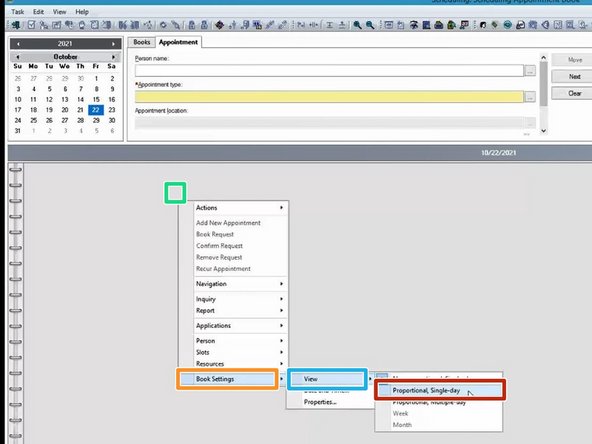
Right-click in the grey area
-
Go to Book Settings
-
Go to View
-
Click Proportional, single-day
-
-
-
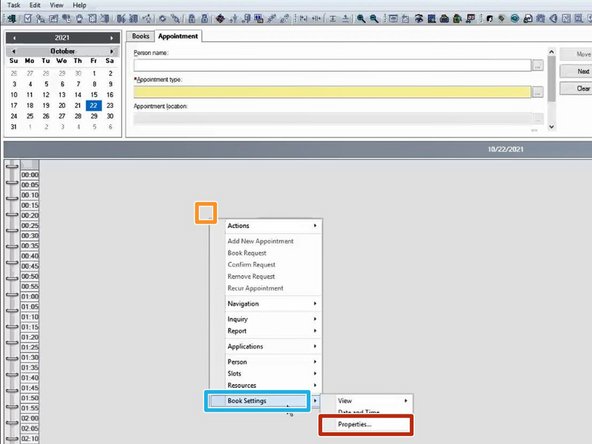
Right-click in the grey area
-
Go to Book Settings
-
Click Properties
-
-
-
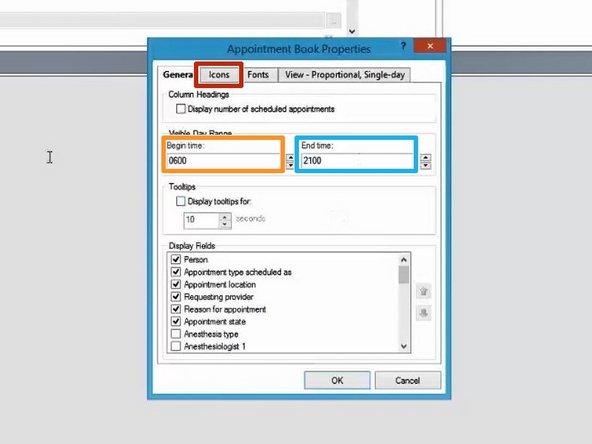
In the General tab:
-
Change the Begin time to 0600
-
Change the End time to 2100
-
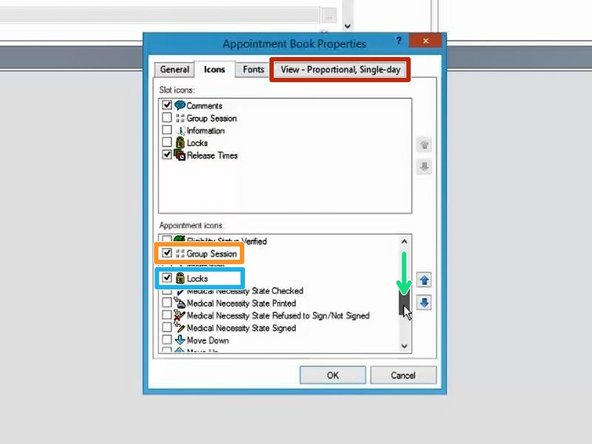
Click the Icons tab
-
-
-
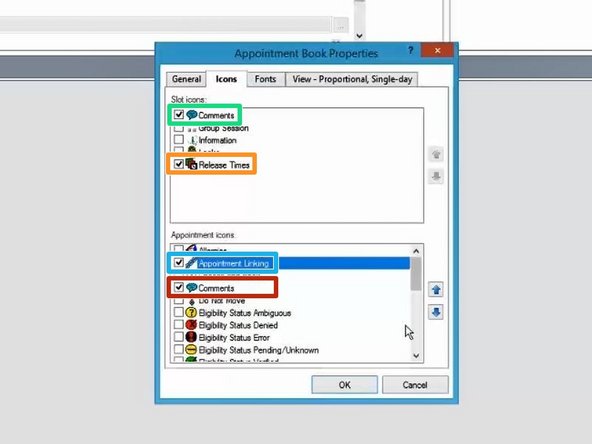
In Slot icons:
-
Check Comments
-
Check Release Times
-
In Appointment icons:
-
Check Appointment Linking
-
Check Comments
-
-
-
In Appointment icons:
-
Scroll down
-
Check Group Session
-
Check Locks
-
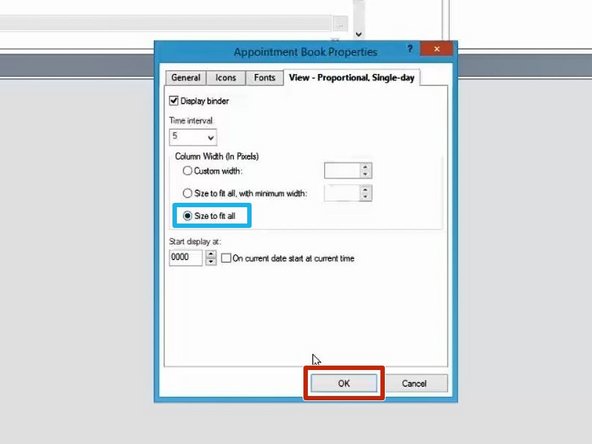
Click the View - Proportional, single-day
-
-
-
Click Size to fit all
-
Click OK
-
-
-
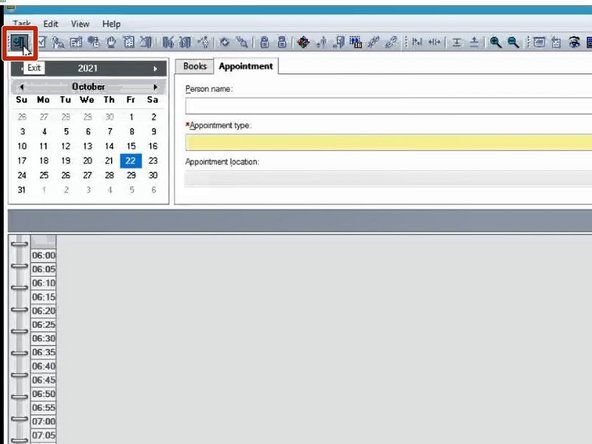
To ensure all changes have been applied:
-
Click Exit
-
-
-
To open the Scheduling Appointment Book application:
-
Click Scheduling Appointment Book
-