Introduction
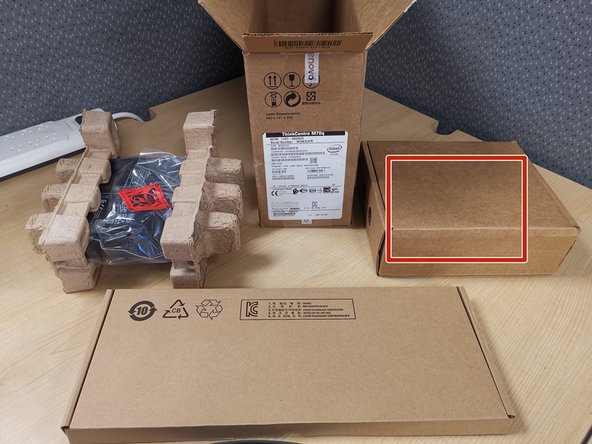
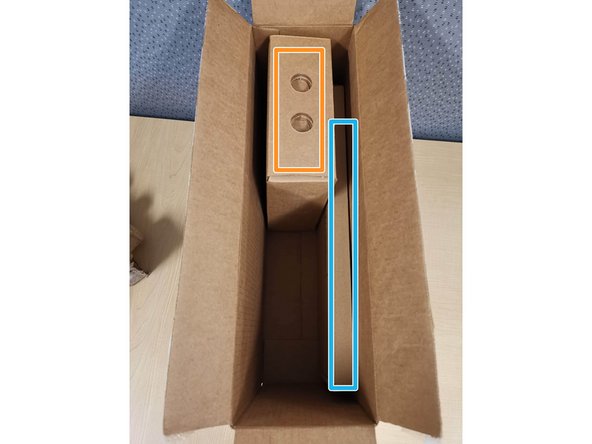
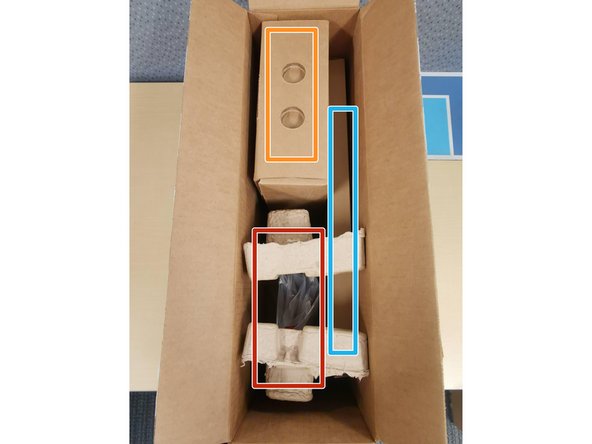
This guide will walk you through unboxing your Lenovo Mini PC, and demonstrate how to maintain the packaging materials incase it needs to be sent back to T2.
-
-
Be sure to open your PC right side up, and be careful when using a sharp blade.
-
Cut the tape on the top of the box
-
-
-
To prevent damage to your PC, be sure to remove the items in order.
-
Remove the Mini PC
-
Remove the Keyboard
-
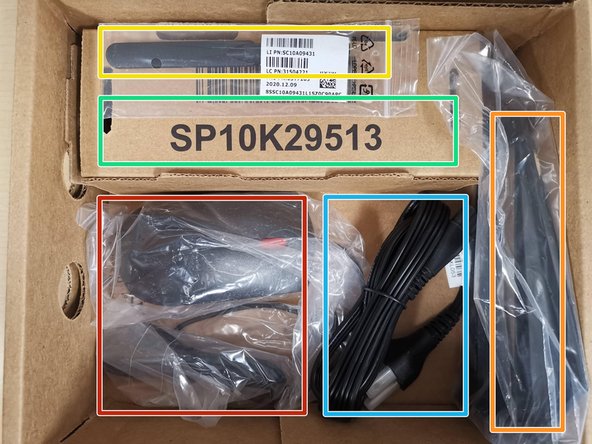
Remove the Power Supply and Accessories
-
-
-
Be sure to have enough space to set up all items. Lay all components out to ensure a simple setup.
-
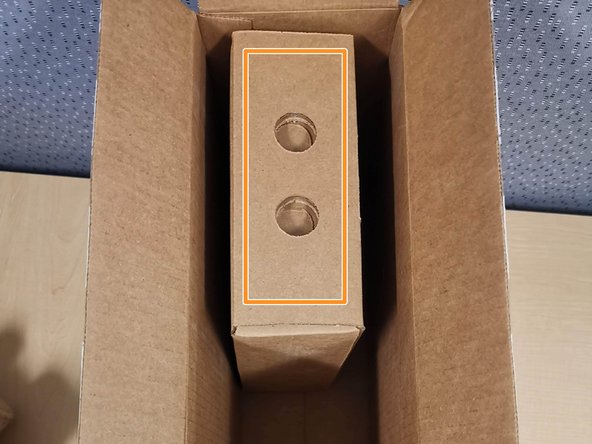
Open the Power Supply and Accessories box
-
-
-
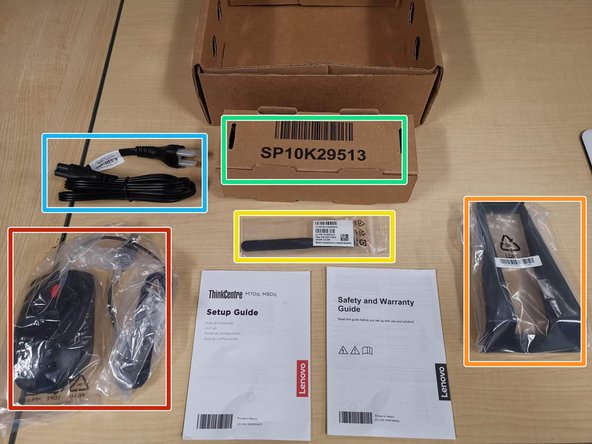
Unwrap each item, and lay them out. Put the power supply box and plastic wrap back in the box.
-
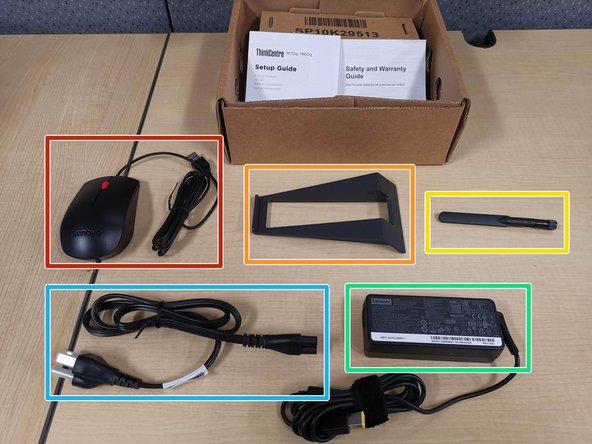
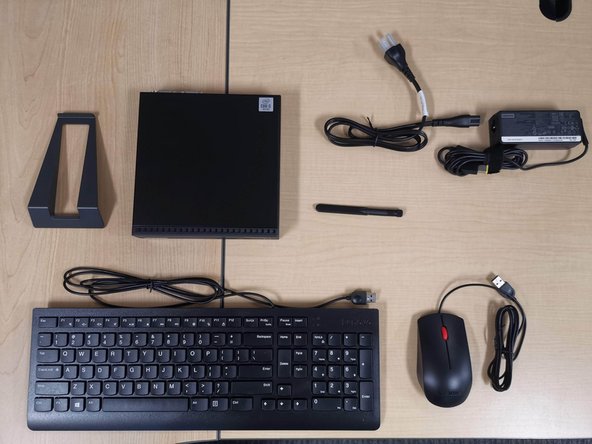
Refer to this key to identify each item.
-
Wi-Fi Antenna
-
Wi-Fi Antenna may be internal on newer models and not included.
-
Mini PC Power Supply
-
Mini PC Stand
-
Mini PC Power Supply AC Cable
-
USB Mouse
-
-
-
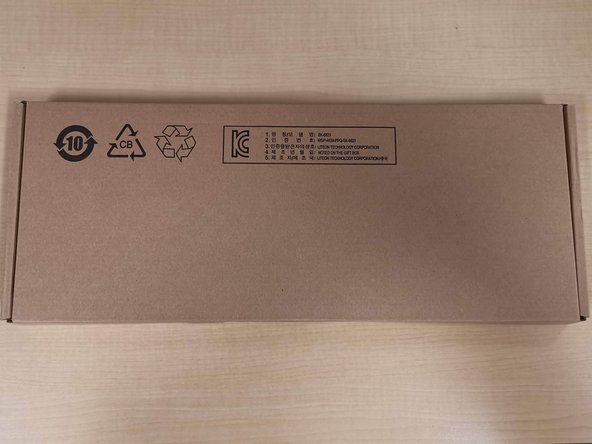
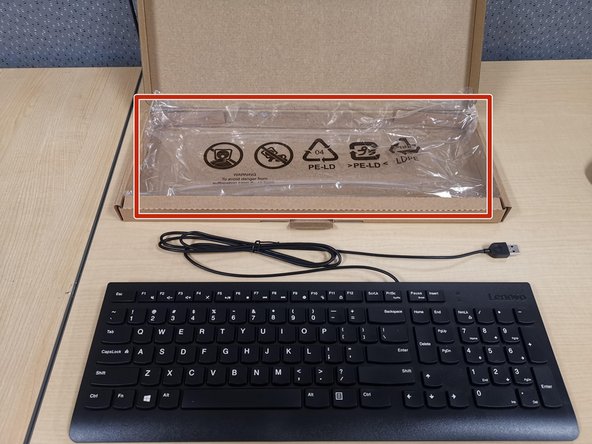
Open the keyboard box, and carefully remove the plastic from the keyboard.
-
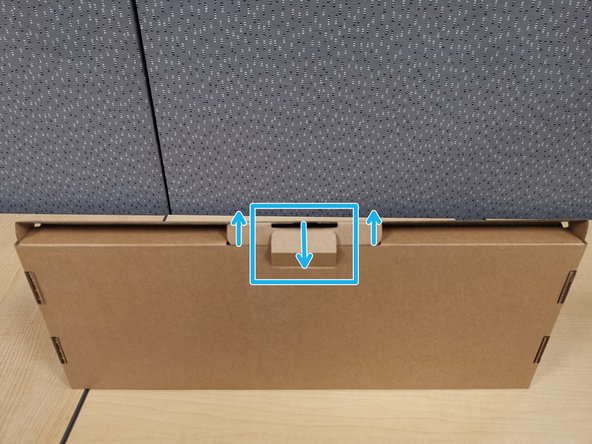
Pull out the Tabs in the center of the box
-
Put the plastic wrap back in the keyboard box
-
-
-
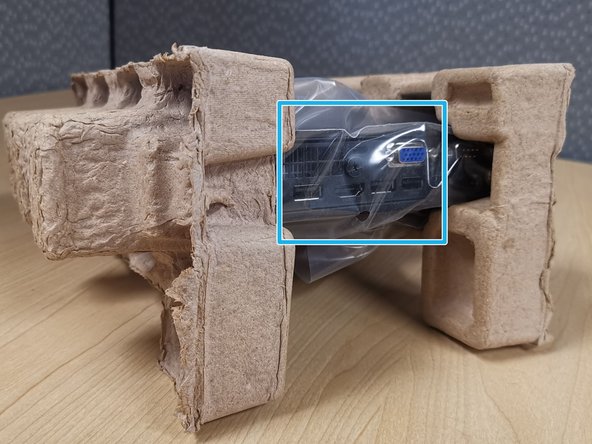
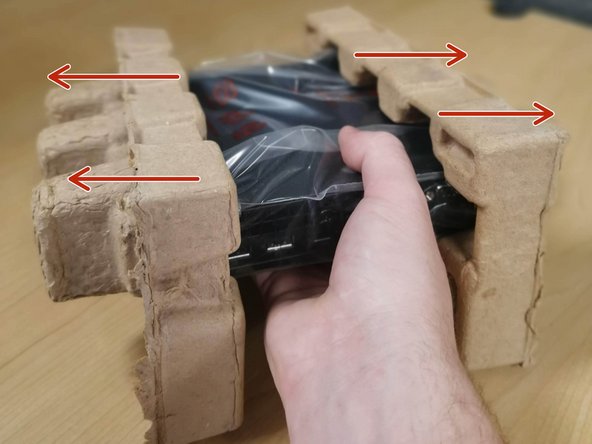
Hold on to the Mini PC
-
Remove the cardboard sides
-
-
-
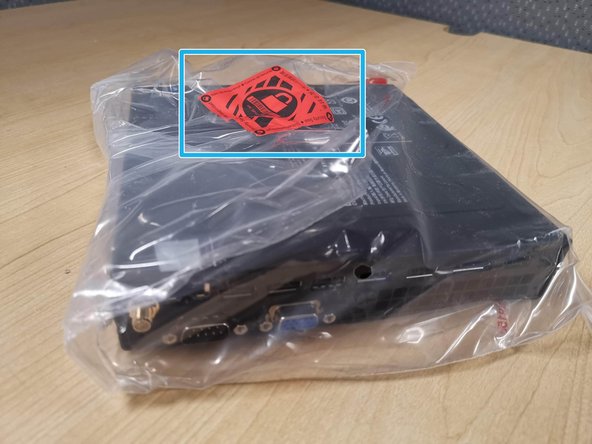
Be careful when using a sharp blade.
-
Cut the Security Seal
-
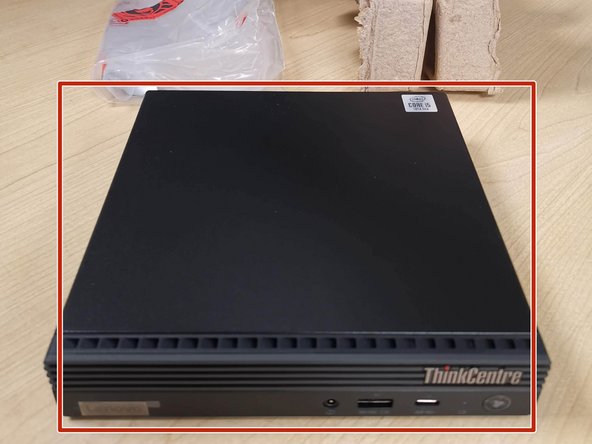
Remove the Mini PC from the plastic
-
-
-
Put the empty component's boxes and packaging back into the PC's box.
-
Replace the Power Supply and Accessories box
-
Replace the Keyboard box
-
Replace the Mini PC packaging
-
-
-
Keep all items organized and laid out.
-
Wi-Fi Antenna may be internal on newer models and not included.
-
-


