-
-
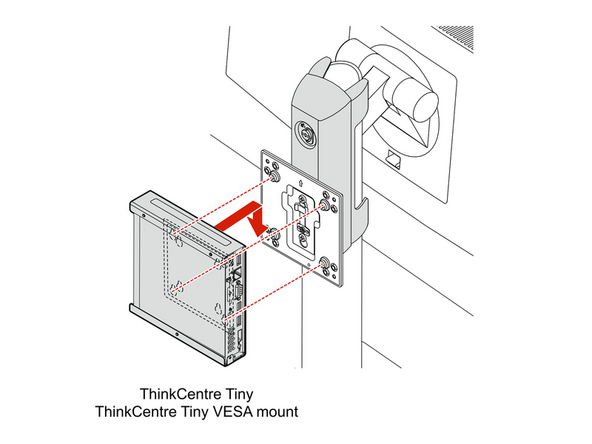
Slide your Mini-PC into the Vesa Mount.
-
The screw holes on the back of your Mini-PC will line up with the mount.
-
Use the included Screws to secure the back of the Mini-PC to the Vesa Mount
-
-
-
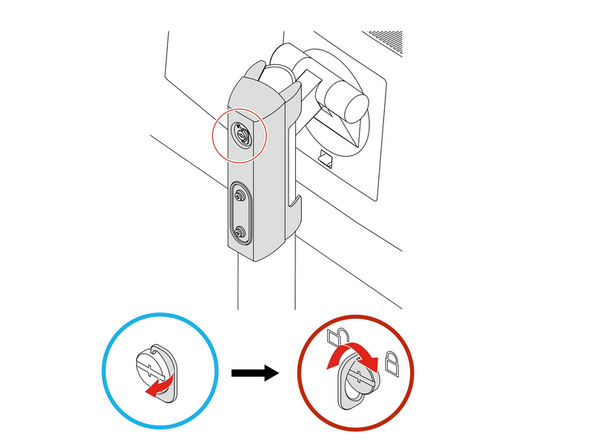
Slide the mounting bracket onto the top of the monitor post
-
-
-
Lift the screw handle
-
To tighten the screw:
-
Turn the screw clockwise
-
-
-
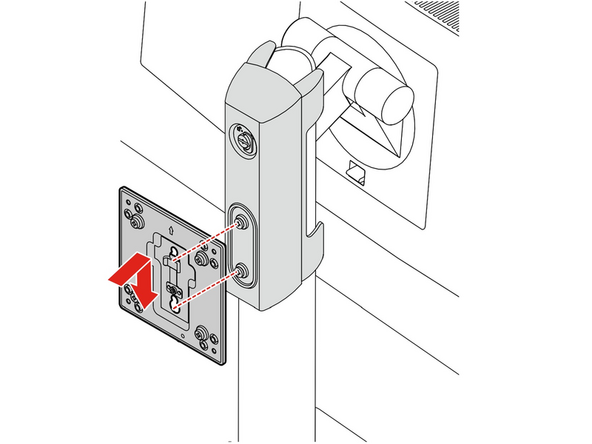
Slide the mounting bracket onto the mount
-
-
-
Line up the screws on the Vesa mount and the holes on the Mini-PC mount.
-
Slide the Mini-PC onto the Vesa mount.
-
-
-
Front Panel Overview:
-
Headphones/Headset
-
USB 3.0 (Highspeed)
-
USB 3.0 Type C (Highspeed)
-
Hard Drive Activity Light
-
Power Button
-
-
-
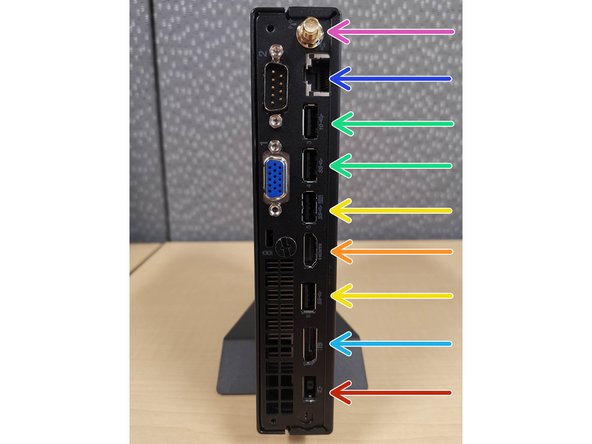
Rear Panel Overview:
-
Wi-Fi Antenna Jack
-
Ethernet Port
-
USB 2.0
-
USB 3.0 (Highspeed)
-
HDMI
-
DisplayPort
-
Power Supply
-
-
-
Do not force any cables into place.
-
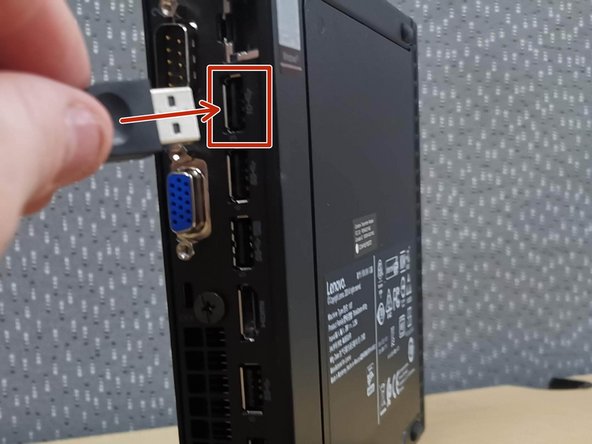
Plug your Mouse into the top USB port
-
-
-
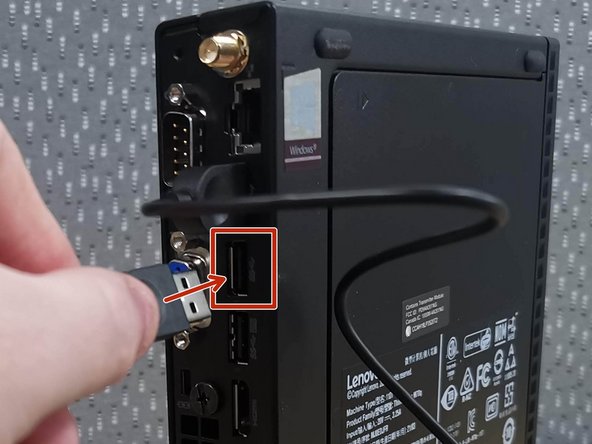
Plug your Keyboard into the USB port below the mouse
-
-
-
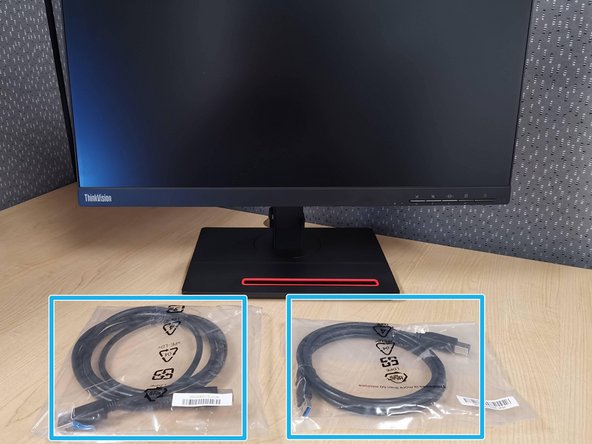
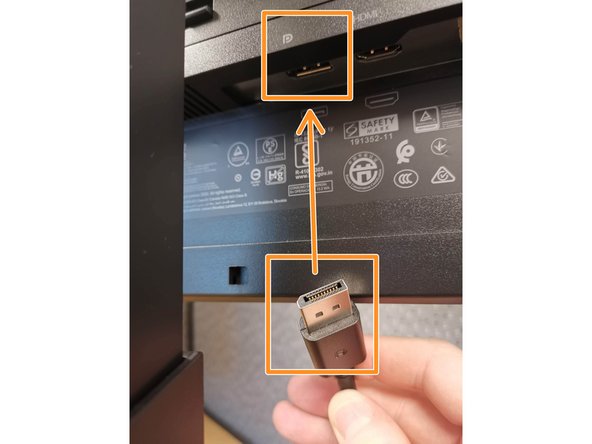
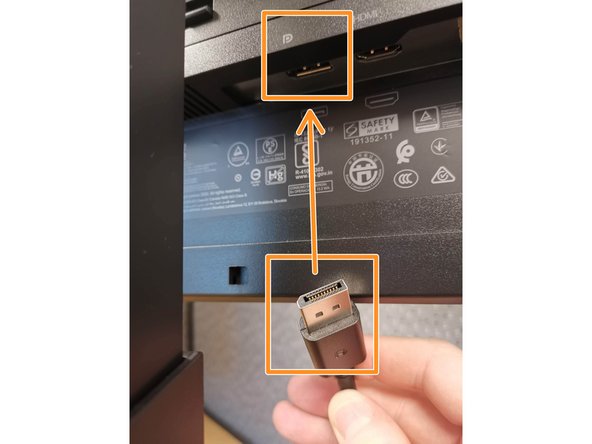
Each of your monitors will come with a Display Port cable and an USB 3.0 cable.
-
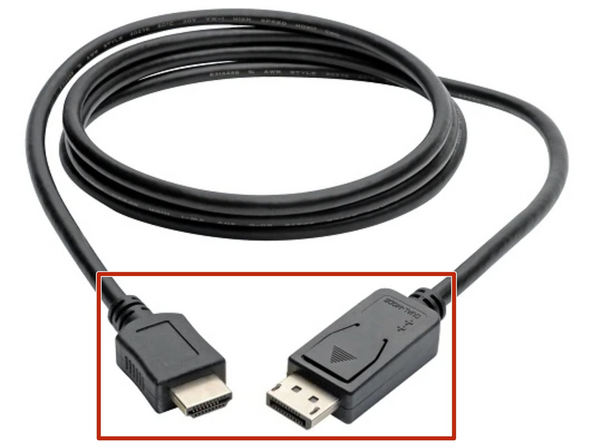
A DisplayPort to HDMI cable is provided separately. If you did not receive one, contact your hiring manager.
-
Unwrap the Display Port and USB 3.0 cables
-
DisplayPort to HDMI cable
-
-
-
Do not force any cables into place.
-
Your Main Monitor (1st Monitor) has a camera.
-
Connect the DisplayPort to HDMI cable to the back of the 1st monitor
-
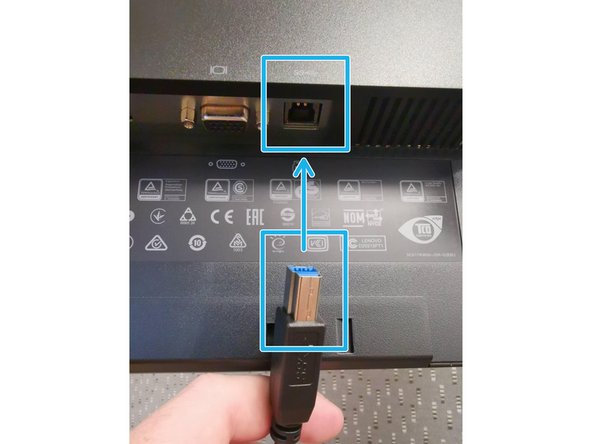
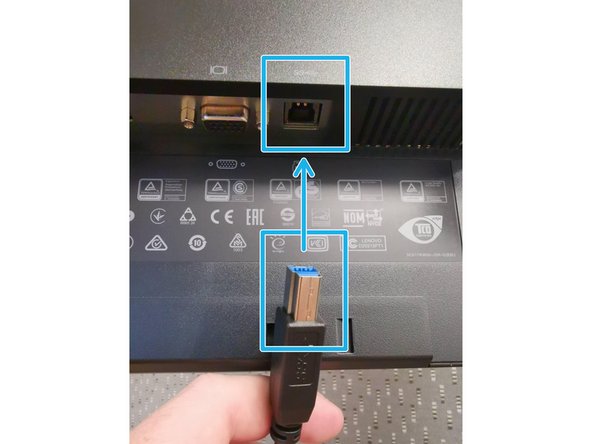
Connect the USB 3.0 cable to the back of the monitor
-
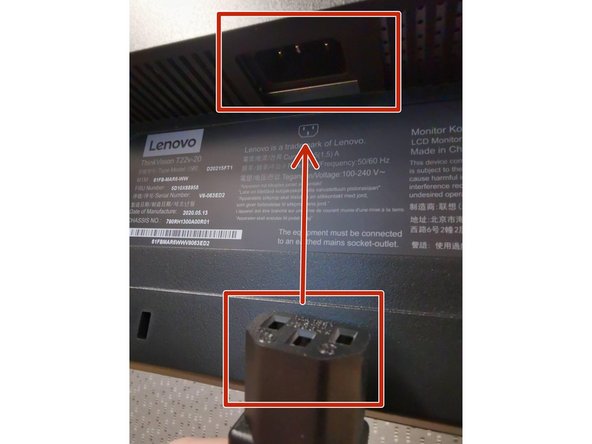
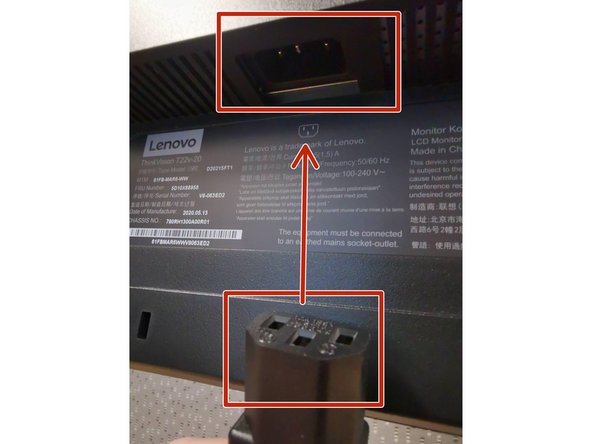
Connect the Power cable to the back of the monitor
-
-
-
Do not force any cables into place.
-
Connect the Display Port cable to the back of the 2nd monitor
-
Connect the USB 3.0 cable to the back of the monitor
-
Connect the Power cable to the back of the monitor
-
-
-
Do not force any cables into place.
-
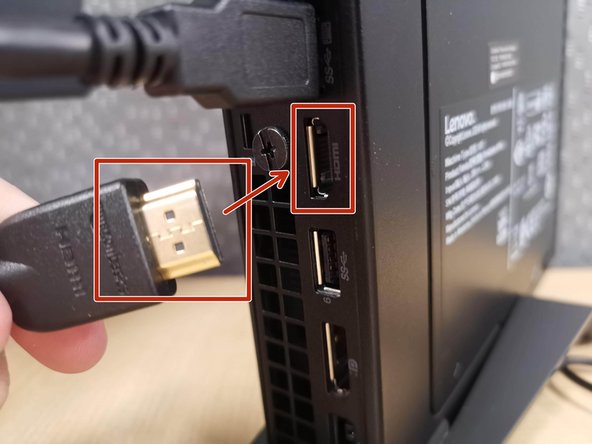
The primary monitor uses the DisplayPort to HDMI connection.
-
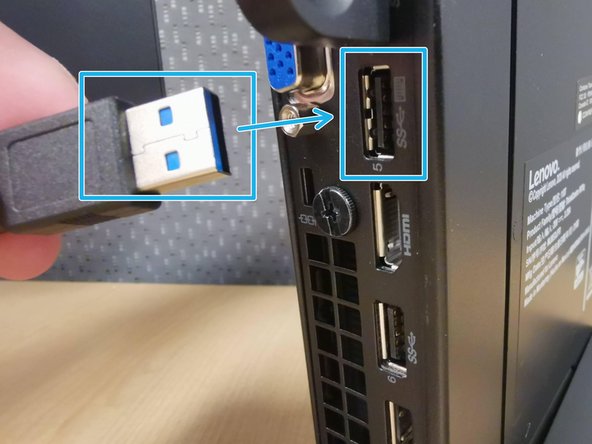
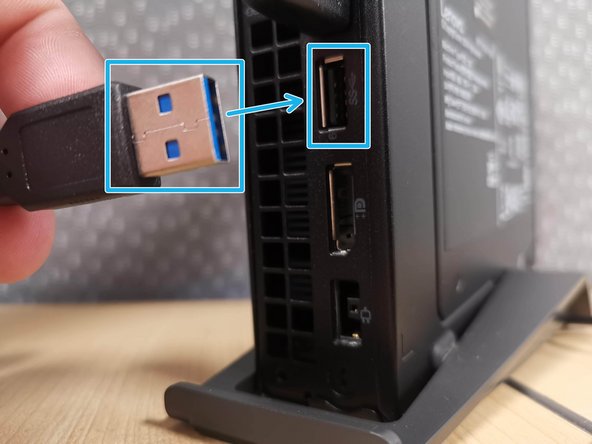
Connect the USB 3.0 cable to the Mini PC
-
Connect the HDMI end to the Mini PC
-
-
-
Do not force any cables into place.
-
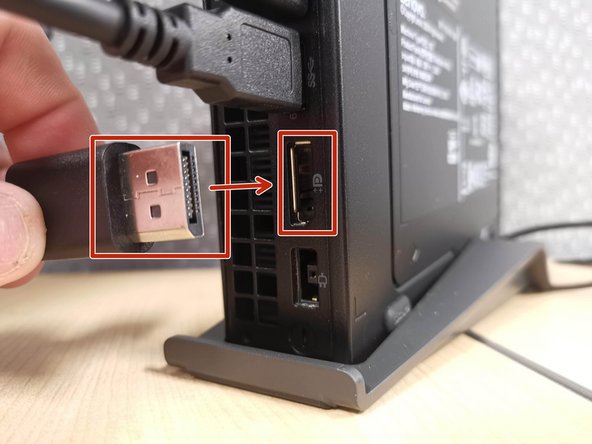
The secondary monitor uses the Display Port connection.
-
Connect the USB 3.0 cable to the Mini PC
-
Connect the Display Port cable to the Mini PC
-
-
-
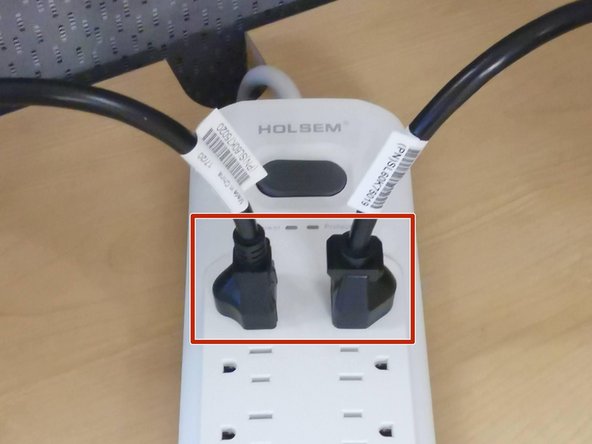
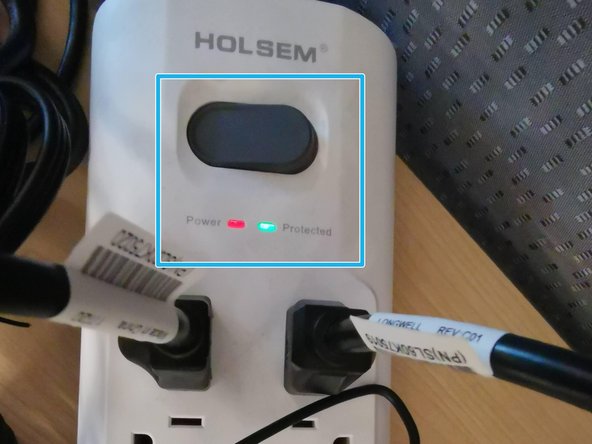
Make sure your surge protector is turned OFF.
-
Connect the monitors' power cable to the surge protector
-
-
-
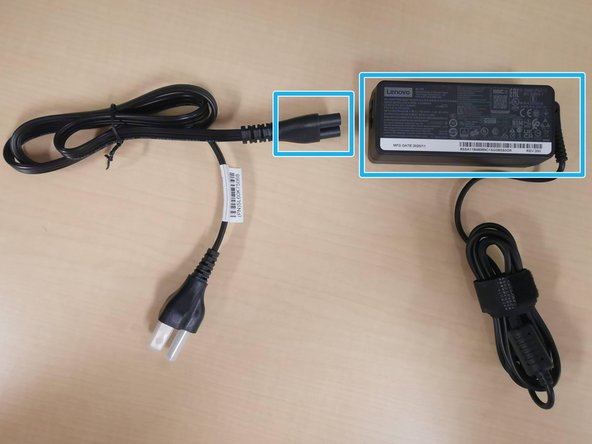
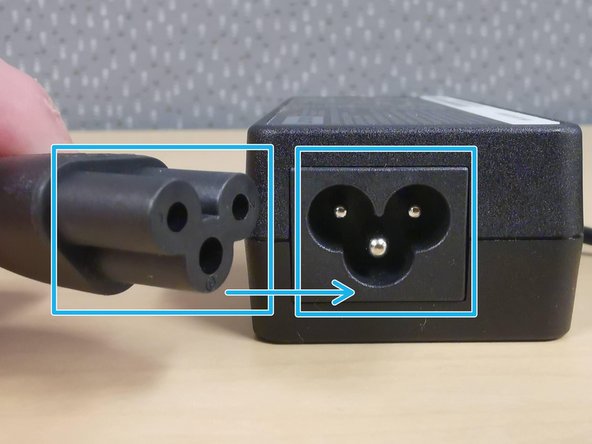
Assemble the Mini PC power supply:
-
Connect the AC cable to the Mini PC power supply
-
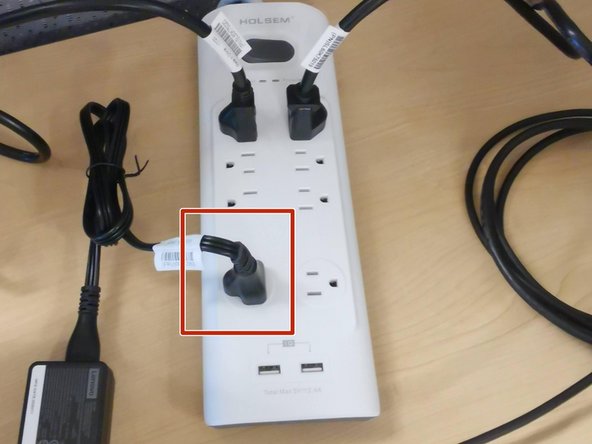
Connect the AC cable to the surge protector
-
-
-
Do not force any cables into place.
-
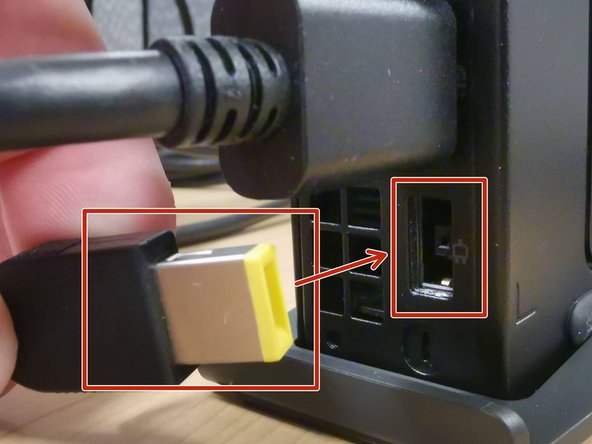
Connect the Mini PC power supply
-
-
-
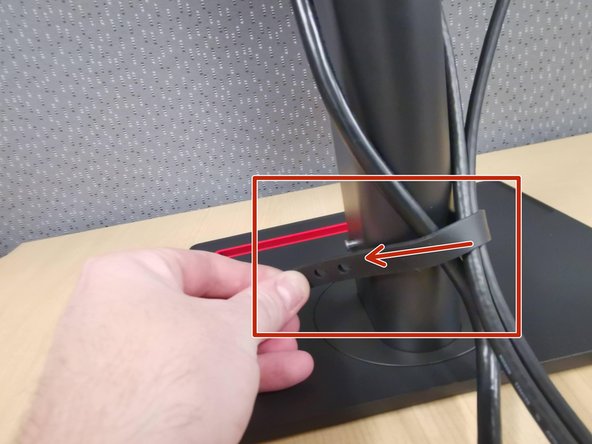
Organize your cables using the strap at the base of the monitor arm
-
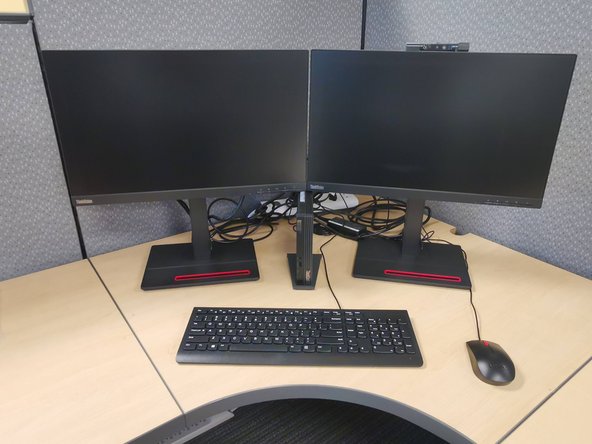
Arrange your monitors, PC, keyboard and mouse into a comfortable position.
-
-
-
Turn the Surge Protector on
-
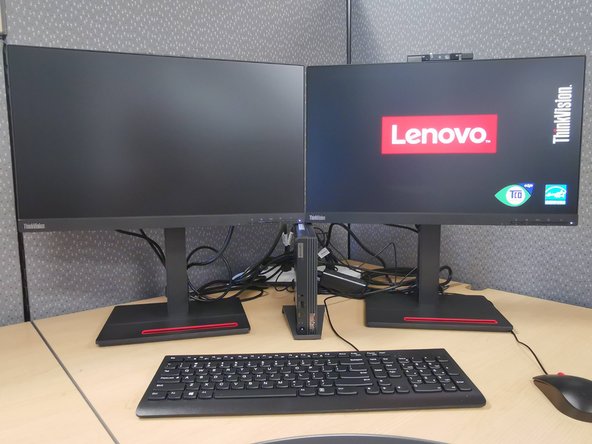
The Mini PC and monitors will turn on.
-
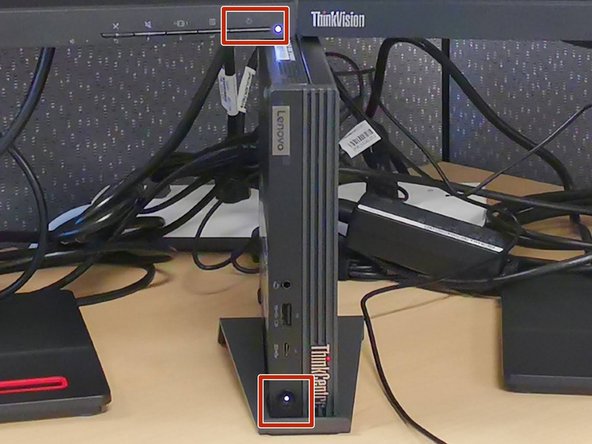
If the Mini PC or monitors do not turn on:
-
Press Power on the Mini PC and monitors
-
-
Almost done!
Finish Line


