Introduction
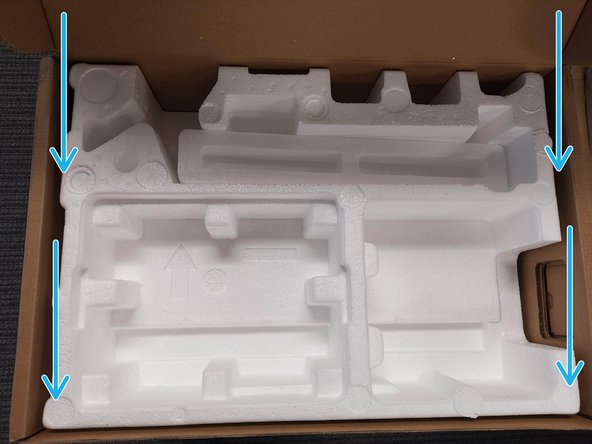
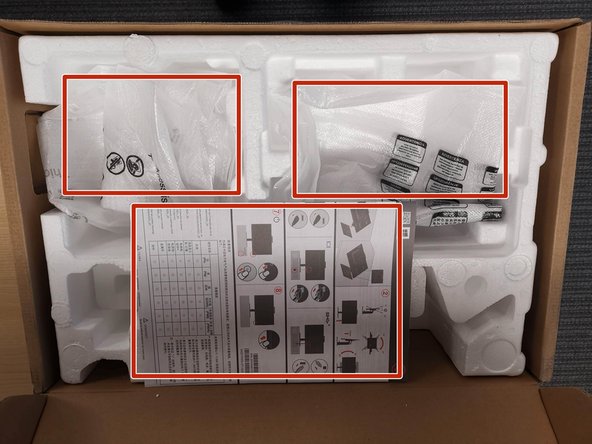
This guide will walk you through unboxing your Lenovo ThinkVision Monitors and demonstrate how to maintain the packaging materials incase it needs to be sent back to T2.
-
-
Be sure to open your monitors right side up, and be careful when using a sharp blade.
-
Cut the tape on the top of the box
-
Lay the box down.
-
Pull and lift the top open
-
-
-
Remove the Quick Start Guide
-
-
-
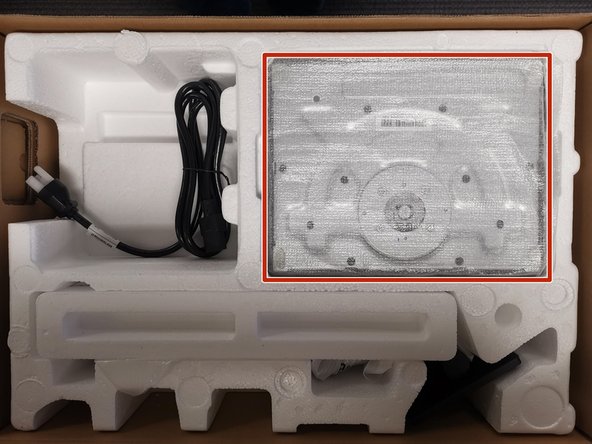
Remove the Monitor Base
-
-
-
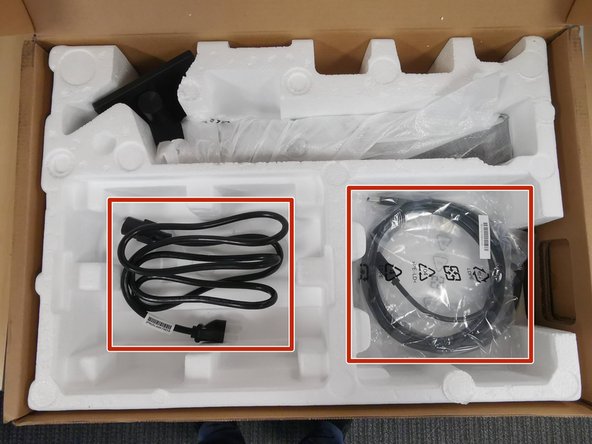
Remove the Cables
-
-
-
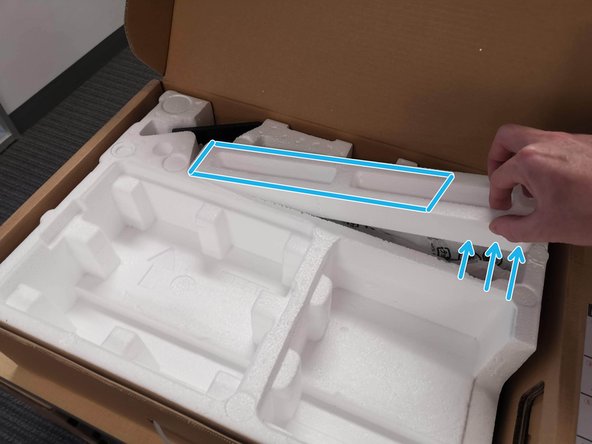
Remove the Monitor Arm Styrofoam
-
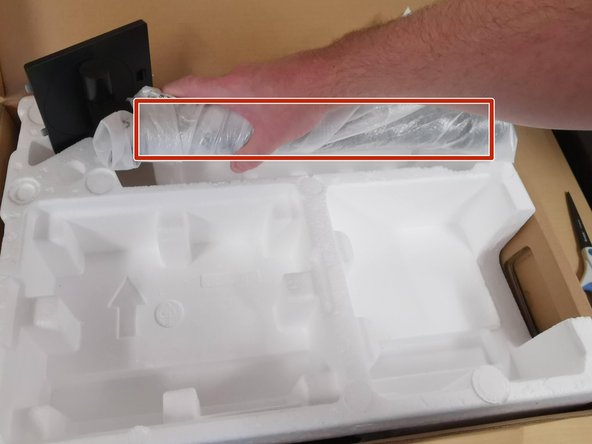
Remove the Monitor Arm
-
-
-
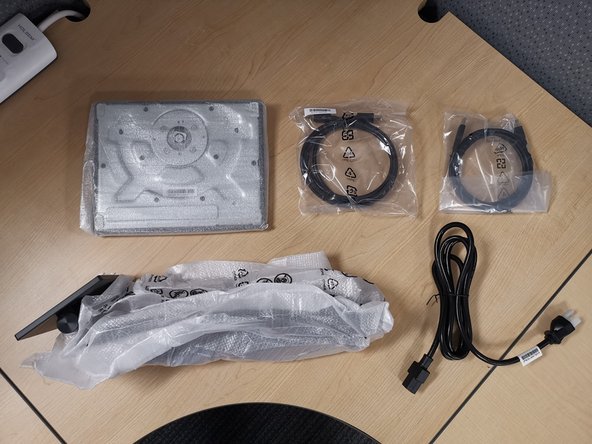
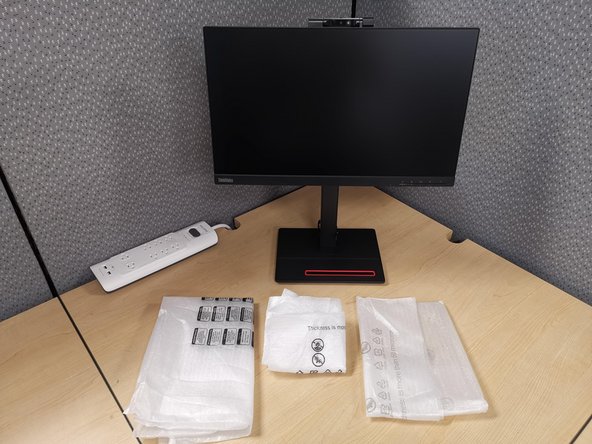
Be sure to have enough space to set up all items. Lay all components out to ensure a simple setup.
-
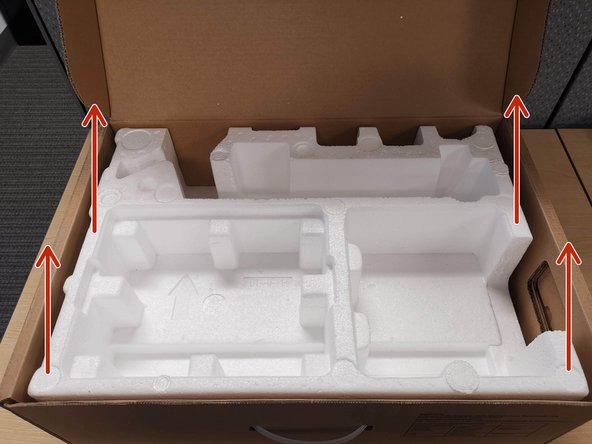
Lift the Styrofoam out of the box
-
-
-
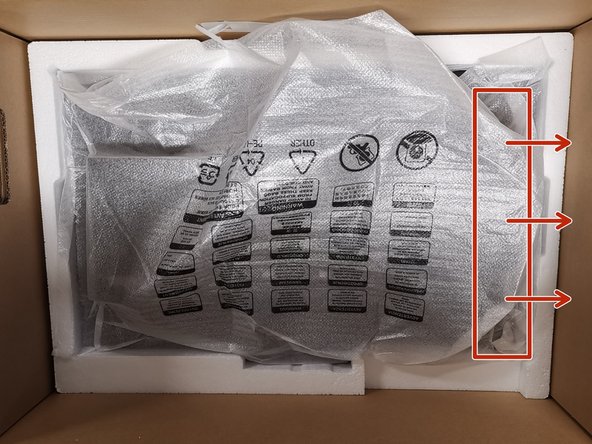
Carefully, grab one side of the monitor.
-
Lift the Monitor out of the box
-
Once the monitor is lifted, use both hands to remove it from the box.
-
-
-
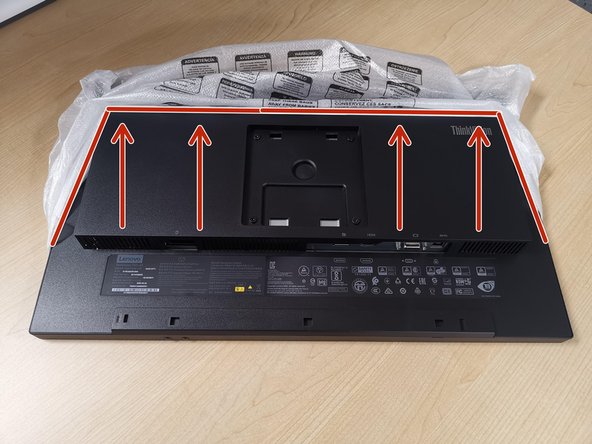
With the monitor facing down:
-
Lift up the back of the screen cover
-
Be careful not to tear the cover. If it begins to tear, slide the front of the cover up.
-
-
-
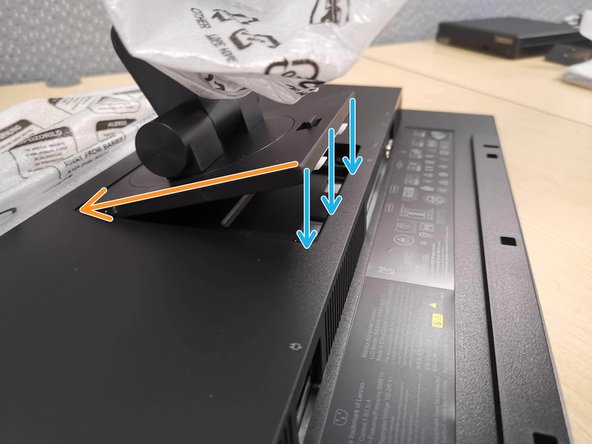
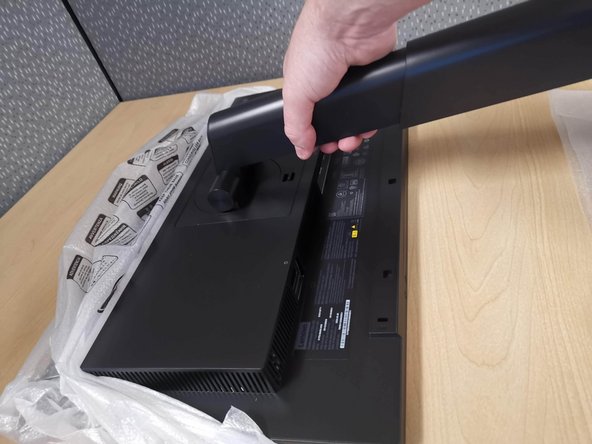
Tilt and slide the Monitor Arm into the bracket
-
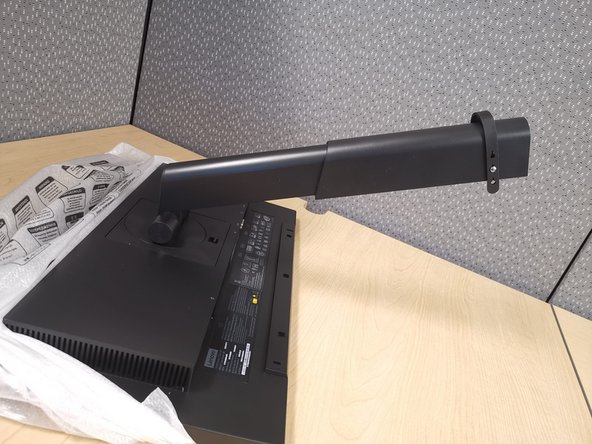
Lay the arm flush, it will lock into place
-
Remove the cover from the arm
-
-
-
Unwrap the Monitor Base
-
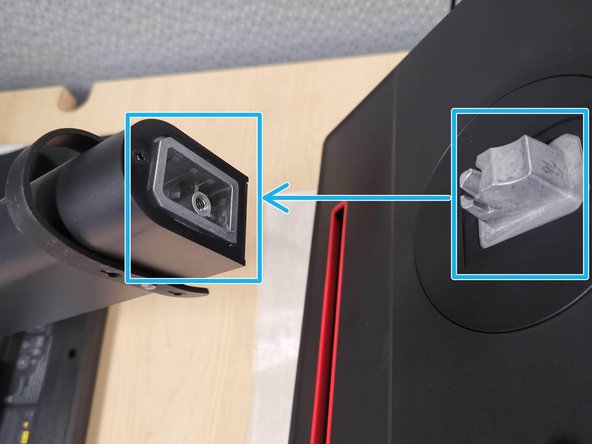
Line-up the Arm with the Base
-
Push the Base flush with the Arm
-
-
-
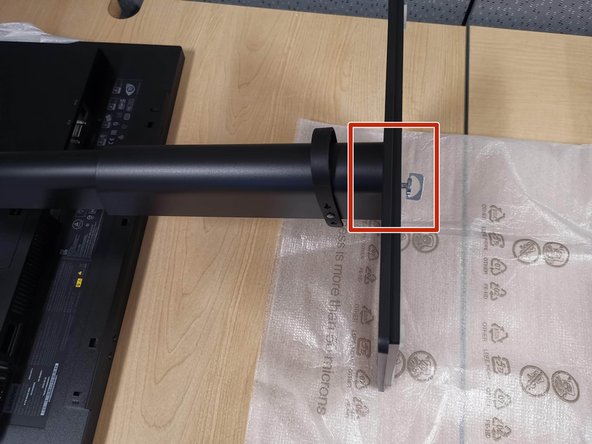
Turn the base screw clock wise
-
Once it is tight, flatten the screw
-
-
-
When moving your monitor, grab it by the arm. Stand the monitor upright.
-
Remove the monitor cover
-
Keep the covers and bags organized.
-
-
-
Place the Styrofoam back in the box
-
Put the Quick Start Guide, covers and bags back in the box
-
-
-
Repeat steps 1 - 13 to unbox your secondary monitor.
-
Only your primary monitor has a camera.
-
Be sure to have enough space to set up all items. Lay all components out to ensure a simple setup.
-
A Surge Protector is recommended, and should be used to prevent damage to your equipment.
-
-


